Saturday, November 1, 2014

Mirrored Mason Jars

I found a pin on Pinterest that I had to try: click here

I spent the entire summer crafting items to redecorate my new place (see previous posts), so when I saw that pin on Pinterest, I thought it would be an easy way to add a little vintage and a little sparkle. I had also never used the Looking Glass spray before.

I found white flowers with silver sparkle in the middle at the craft store for a Christmas 50% off (score!) as well as discounted jars I could spray paint.


They turned out so shiny! I definitely plan on using the spray again in the future. :)


Wednesday, October 15, 2014

Yarn-Wrapped Halloween Wreath

I wanted a Halloween wreath that celebrated the holiday without being too silly or predictable. I decided to do a solid black with a little white wrapped around, using the same technique I used on my previous wreath. I thought it would give it the look of a web and I was pleasantly surprised.

I choose a bright orange felt and made simple roses using a technique I learned from Pinterest: How to Make Felt Rose Flowers

My final step was to paint wooden letters a bright orange and apply with a glue gun.

I'm really happy with the way the wreath turned out...I think it's simple and celebrates the holiday without Halloween throwing up on it. Haha :)


Tuesday, July 8, 2014

DIY Custom Coasters

One of the last things I wanted to make (craft) for my new living room was a set of custom coasters. I found this pin on Pinterest which helped me figure out how I would make these custom coasters. For supplies, I used:

1. 3"x3" black ceramic tiles (purchased at Home Depot)

2. scrapbook paper (6 different designs)

3. foam/rubber shelf liner

4. high gloss acrylic spray paint

5. Mod Podge

6. black acrylic paint

7. foam brush

The ceramic tiles I purchased had a glossy black top, which I though would make it easy because I planned on letting some of the black on the top show. The sides of the tiles were white, so I used the black acrylic paint to paint the sides. It took two coats.


I then used the ceramic tiles to trace and measure pieces of scrapbook paper.


I measured and cut the scrapbook paper squares smaller than the tiles so the black on the tiles would show slightly around the edges. I then used Mod Podge to apply the pieces of scrapbook paper to the tiles.


After applying the scrapbook paper, I made sure to turn the tiles over and set something heavy on them so the paper could try and all edges would stay down. When dry, I applied a coat of Mod Podge to the top of the scrapbook paper to seal it in.


After drying, I took the tiles out into the garage to spray the glossy acrylic paint. I applied two coats.


For the last and final step, I cut out squares of foam shelf liner and used Mod Podge to apply them to the back of the tiles, which would help them grip on a coffee table. 


I am so glad I found this idea because it seems much better than buying a standard set of coasters that are impersonal and all matching. This way, you can customize them and have fun at the same time. I think they would make an excellent gift!

Repurposing Your Home Decor

As I've been packing and getting ready to move into my new place, I have been getting rid of a lot of old furniture and decor that doesn't match my new theme. Some of the items, however, I realized I could repurpose. One of my new colors will be chrome, so I decided to buy chrome spray paint at the craft store and change the look of some of the items that do not match my new decor. 

I started with a light green glass vase. I made sure to wipe it of any dust or residue and then gave it two good coats of spray paint. I also did the same to a black porcelain try.


I also had a globe that had a bronze metal base and a tall candle holder that was bronze that I wanted to spray chrome. I used 220 sandpaper first to sand both pieces and use a wet cloth to remove the excess residue before spraying.


This was my first time spray painting to repurpose home decor and I am happy with the results. I cannot wait to incorporate these pieces into my new place!

Wednesday, July 2, 2014

A Wreath to Emphasize Your Accent Color

As I've mentioned in the past few posts, I am re-doing my living room, so I have been making a lot of items that will really add to the decor. My colors are silver, black, white, grey, and an emerald-turquoise pop of color. 

I decided I would like a new wreath on my front door to match my new decor. Because my living room will mostly be muted tones of silver, grey, black, and white, I decided to make the majority of the wreath in that emerald-turquoise pop of color. For supplies, I used:

1. 8" styrofoam wreath

2. yarn (2 colors…emerald green & a lighter green)

3. felt

4. small decorations: white buttons, small fake flowers

5. glue gun

I started out by wrapping the styrofoam wreath the darker emerald green. 


When that was finished, I used the lighter green and wrapped it around, giving a 3D effect that also matched the emerald-turquoise color I was going for. I didn't realize that wrapping the lighter color would have the effect it did, but I was pleasantly surprised!


Wrapping the styrofoam wreath is the hardest part for me because I am a perfectionist, so it has to look just right. For this wreath, I wanted to make two types of felt flowers. One is a simple rose that you cut from a spiral (you can do straight or wavy…I did both), and one is a folded petal flower. I found out how to do both on Pinterest. Here are the pins I used:


For one flower, I used the straight rose effect and cut out white and light grey. I wrapped them together to make a two-colored rose. 

After making the felt flowers, I began to glue them onto the wreath, thinking about color placement. I finished off the flowers by adding white buttons and small white fake flowers.


I am absolutely in LOVE with this wreath and cannot wait to hang it on the door of my new place. I really think it is unique and will go with my decor very well! :)


Monday, June 30, 2014

Yarn Wrapped Wine Bottles

I have been looking on Pinterest to find ideas for my new living room and I came across this pin. I loved the idea and wanted to incorporate my new colors using this idea. I saved old wine bottles and did my best to strip them of their labels. Some residue was still left over, but most of the label was gone. I actually had to soak one in water for a bit first before the label would scrape off. Once the wine bottles were ready, all I needed was:

1. Mod Podge glue

2. Yarn

3. Buttons/Accessories

4. Foam Brush

I started with the wine bottle turned upside down and used the foam brush to put a layer of glue on the wine bottle. 


I then worked the yarn tightly and carefully across. Once I reached the curve of the bottle, I skipped the yarn over to the neck and did that first before then finishing down the curve of the bottle. 


Once the bottle was completely wrapped, I cut the yarn and glued the stray piece to what I would have be the back of the bottle. Once all the bottles were done, I let them dry for a while.


I used buttons and yarn to spell out "love" and finished it off with some sweet little white flowers. 


I think it will really add something to my living room! :)


Easy Customized Wall Art

Last week as I was looking on Pinterest for crafts I could make to decorate my new living room, I came across this pin: DIY Scrapbook Paper Wall Art. I thought it would be powerful on the wall above my sofa and the best thing…I could completely customize it to my new living room colors!

I went to Home Depot and purchased a 10 ft by 12 in board for $23. For free, I had the employee at Home Depot cut the board into 12x12 squares for me. Because the wood wasn't exactly 12 in (more like 11.8), I just asked him to make sure they were square. When all the cutting was finished, I ended up with 10 squares which was perfect because I only needed 9 and now I had one extra :)


For the rest of the wall art, the supplies I used:

1. black acrylic paint

2. foam brush

3. Nine pieces of scrapbook paper (in your chosen style/color)

4. Mod Podge glue (bottled matte)

5. Razor Cutter

6. Mod Podge SPRAY glue (glossy)


I started by painting the edges of the squares with the black paint. I used three coats of paint so the wood would be completely covered.


As the edges were drying, I measured and cut the pieces of scrapbook paper for the squares. Once the squares dried, I applied Mod Podge to the wood and attached the scrapbook paper squares. I made sure to add glue to the edges if they were coming up.


I am by no means perfect, so I had to use a razor cutter to trim any extra paper hanging from the wood.


I also touched up the edges with black paint if they needed it.


I laid all 9 squares out to dry (face down). Once they were dry, I finished them off with two coats of glossy spray Mod Podge.


I'm looking forward to hanging this customized art in my new place. I will most likely buy hanging brackets from Home Depot that I will screw into the backs to hang them with. 


Easily Adding an Accent Color


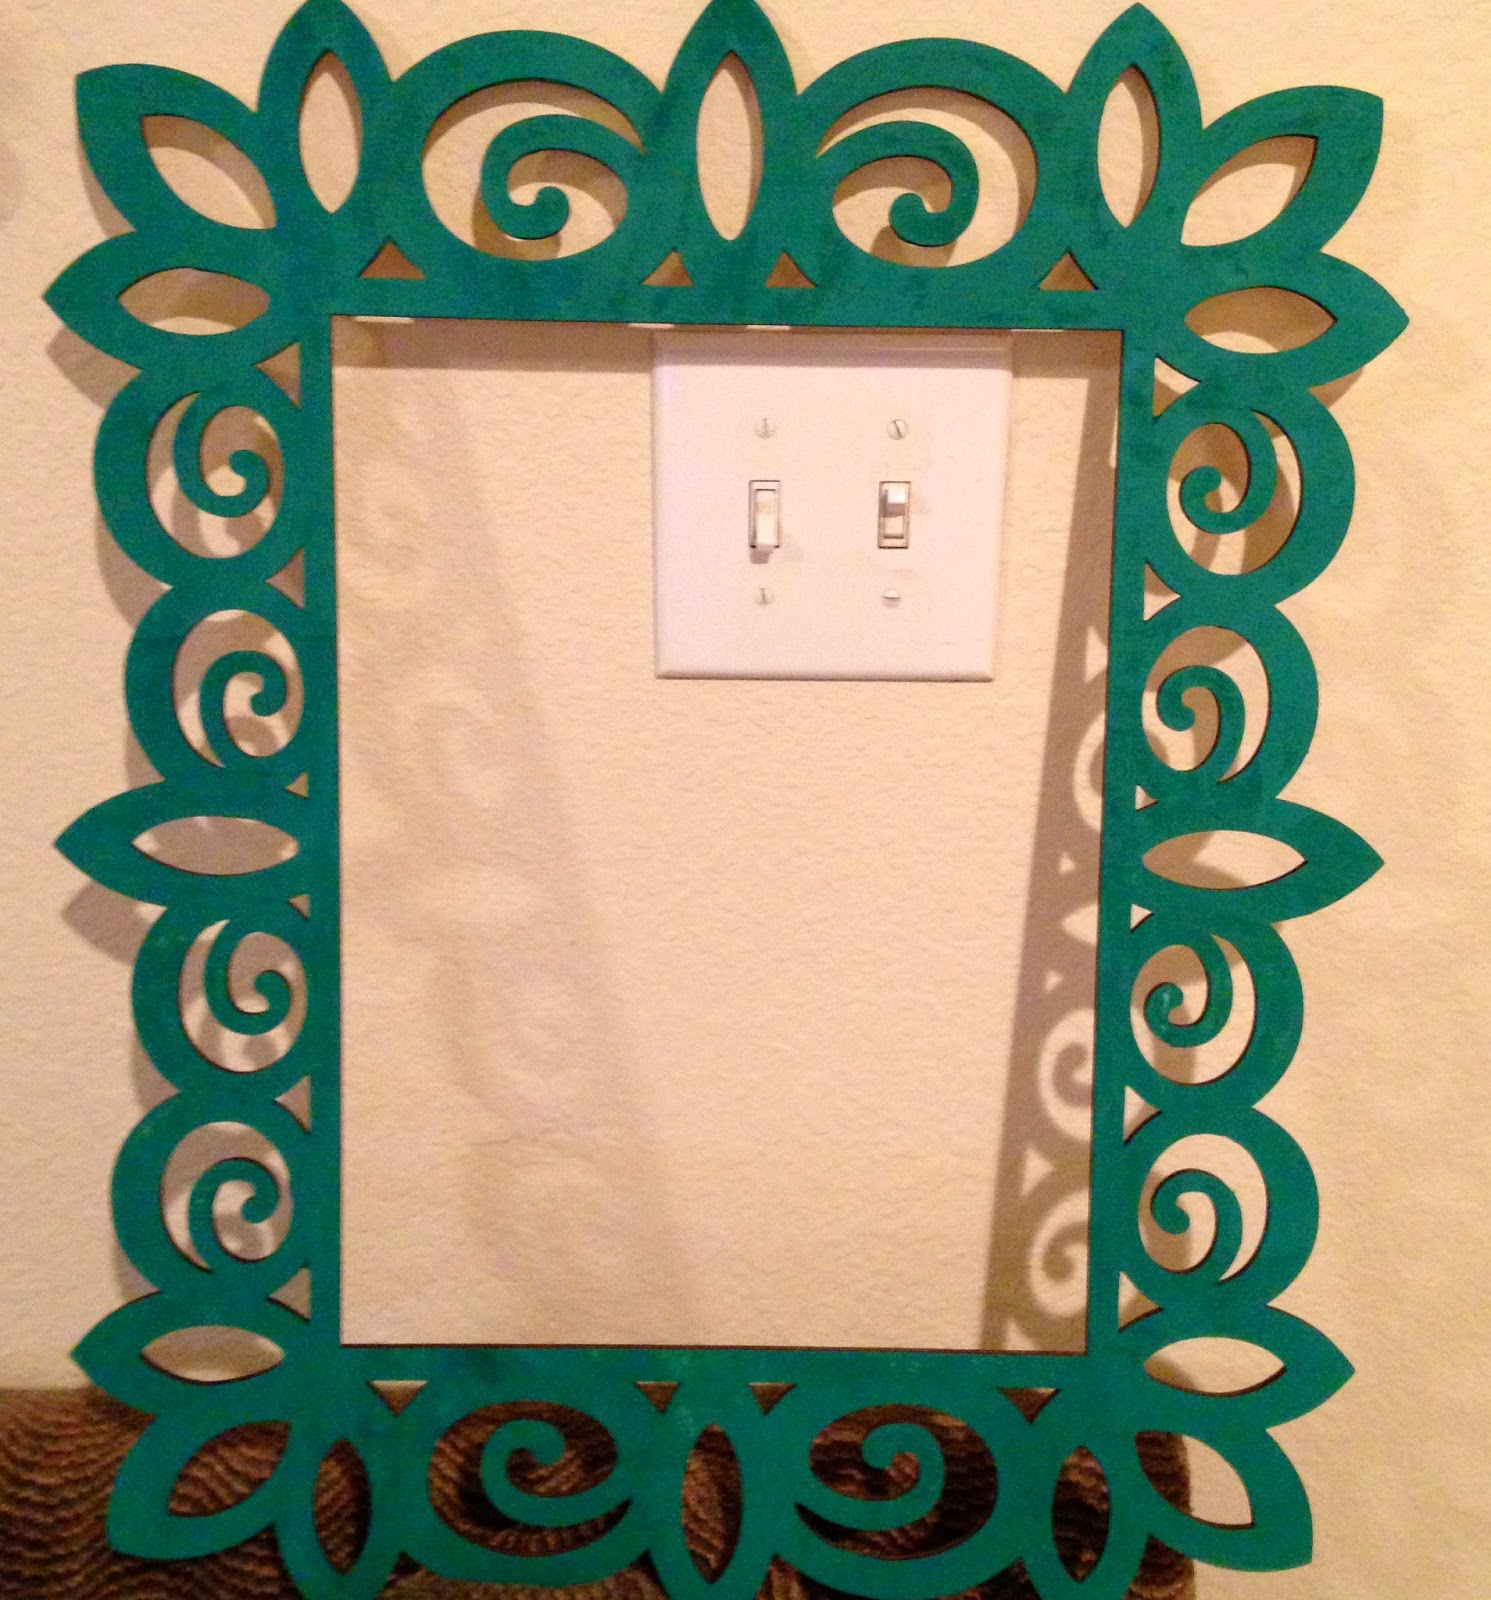
So, as I mentioned in this previous post, I am re-doing my living room in grey, white, black, silver, and my pop of color... which is this emerald-turquoise color. Because I have been having difficulty finding items to decorate my living room in this color, I decided to craft some of my own items. I found this basic wood frame at Michael's and used my 40% coupon  (woo hoo!) to purchase it. 


I already had some acrylic paint at home, so in order to get the perfect color, I mixed green, blue, white, and black until I found the perfect mixture. 

(elephant inspiration)

I then used a foam brush and applied two coats of paint to the basic frame and let it dry.


I love the way it turned out and how easy it was! Slowly but surely, I am acquiring more and more items in my "pop" of color!


Yarn Wreath for Baby's Room

A good friend (and co-worker) was having a baby shower and I wanted to do something special. Her and her husband had been in the process of adopting a baby from China for over a year and a half and finally the time was coming near for them to pick up their baby girl! Once I received the baby shower invitation and found out the colors, I decided I should make a yarn wrapped wreath. The baby's room is grey, coral, and turquoise. Using those colors, I purchased supplies:

1. 8 in styrofoam wreath

2. grey/silver yarn

3. felt sheets (coral, turquoise, and white)

4. colored cork sheets (I found them a Michael's in a little book)

5. hot glue & gun


I decided to do something a little untraditional and wrap the wreath in the grey/silver yarn. I made coral, turquoise, and white felt flowers (go here to see all of the different flower types you can make). 


To finish the wreath, I traced out a "W" (baby's initial) on a coral cork sheet, cut it out, and glued it onto a square piece of turquoise coral. 


I love how the wreath turned out. It meant so much to me to be able to give my friend something that came from my heart, that was personalized for her precious miracle. 


Two Colored Yarn Wrapped Letter

I will be moving soon into a new apartment and I have decided I would like to completely re-do my living room. Everything out...the armoire, the coffee table/end table, the couch, the lamps, the curtains…everything. With a trip to the furniture store, my inspiration began. I absolutely fell in love with this sofa:

Hadly Grey Sofa

I love the color, I love the chevron accent pillows, I love the 60's style lines it has. I LOVE THIS SOFA.

Thus my living room colors began to form…grey, white, black, silver…and I knew I needed a POP of color. I was walking around a local home decor store (Garden Ridge) when I spotted this vase:


I knew instantly that this was my color. Sort of like emerald and turquoise had a baby…amazing. A few aisles into the store, I found this elephant and I knew these two pieces were destined to live together in my living room:


As I began planning my new living room, I quickly discovered how difficult it was to find this emerald-turquoise accent color. Nothing I could find was quite like it…nothing. Luckily, I have my crafting abilities to rely on so I decided I would make some things myself. :)

The first thing I wanted to make was a large cardboard letter "C" wrapped in the emerald-turqoise yarn. I couldn't find a yarn to match perfectly (yes, I actually took the vase INTO the store with me), but a friend helped me pick out two green yarns that if mixed together would work perfectly!

My supplies:

1. wooden letter (I prefer the blocky cardboard ones because they are easier to wrap and I like the look of them better. Any wooden letter should work. Because I want my letter "C" to be a big accent piece in my living room, I bought a 12 in. letter.)

2.  Mod Podge glue (my standard is matte)

3. yarn of choice

4. foam brush


To begin, you simply apply Mod Podge to the end of your letter and start wrapping, adding more glue along the way as you wrap more and more.


Curves and ends can be difficult to wrap, but just continue working carefully until you have the area covered. It is okay if the yarn wraps in different directions and is bulkier on some parts of the letter. 


When I finish wrapping a letter, I always turn it over and put a lot of glue on the backside to hold it all into pace. I also cut the extra yarn, tie it into place back there, and glue it down.


I love how my accent "C" turned out and I can't wait to put it in my new place!